Skip to content
National BBQ Week 2022
Monday 30th May – Sunday 5th June
Words by The Coolicon Team

Photo by Stephanie McCabe
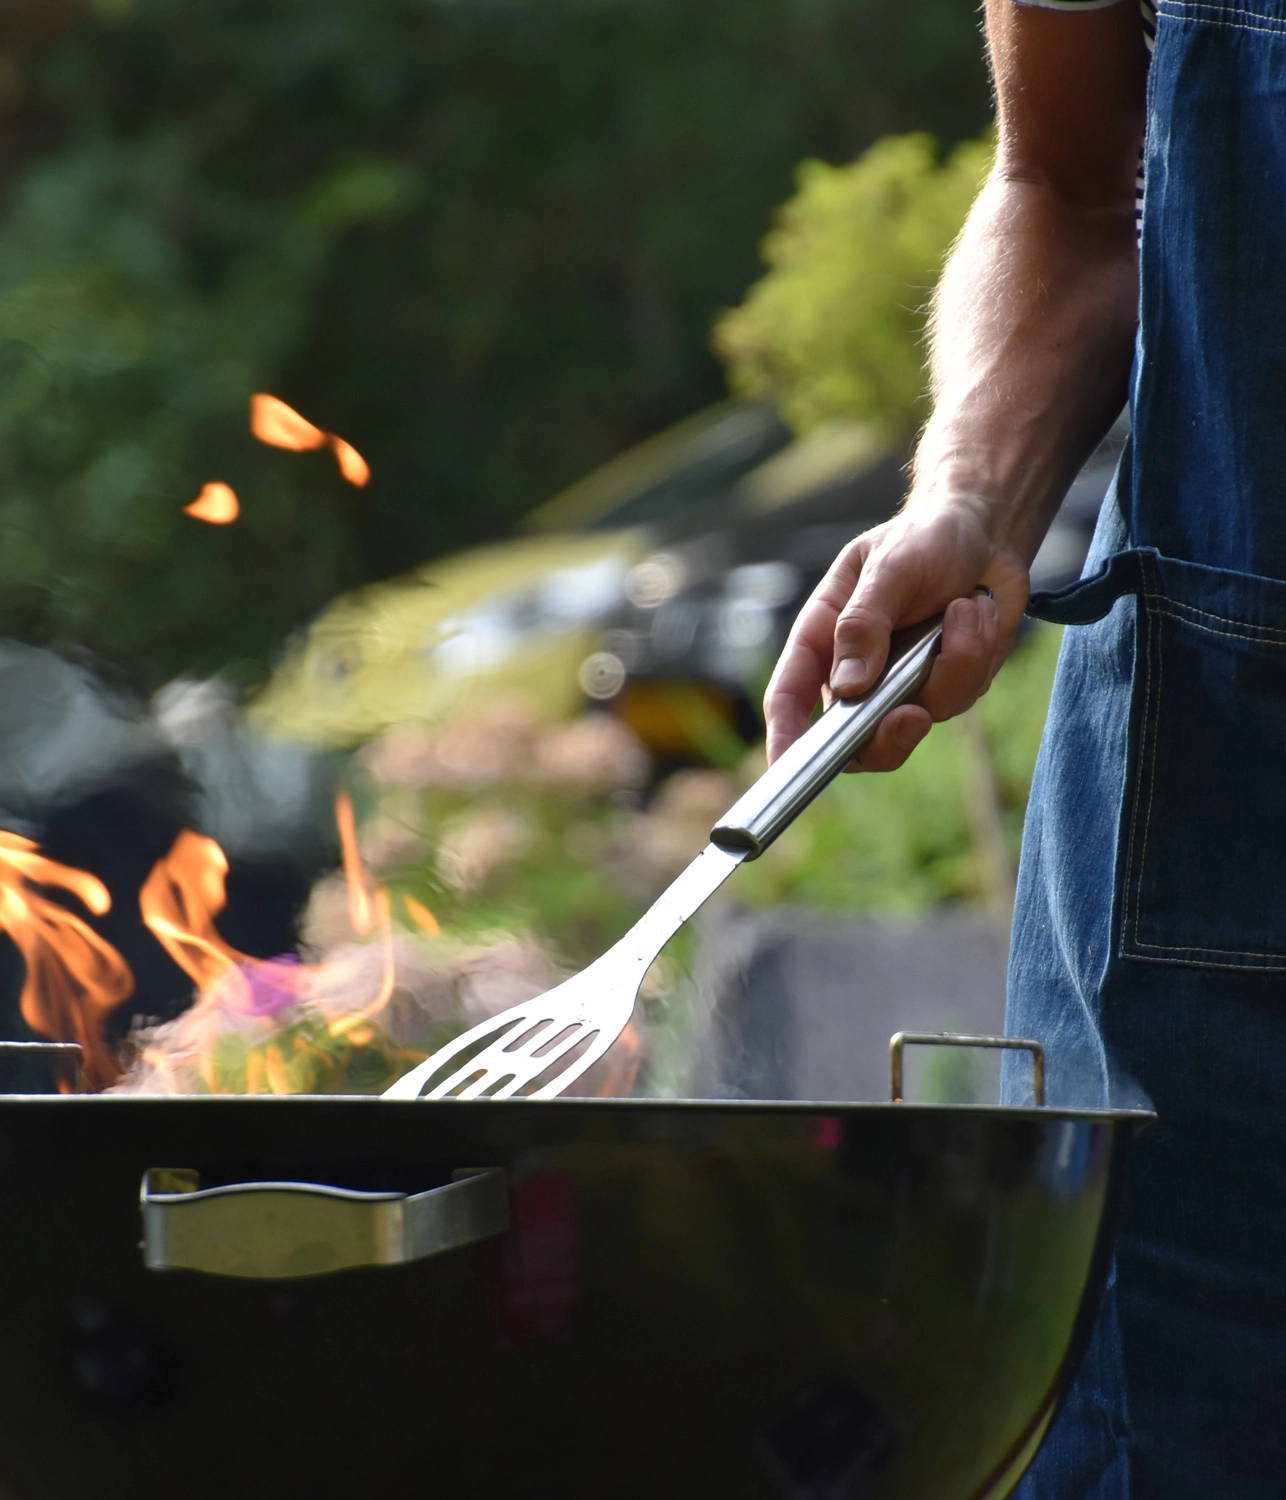
Photo by Vincent Keiman
Summer’s around the corner
It’s time to dust off those aprons, pull back the dust covers and light those barbies for National BBQ Week 2022 commencing today!
Whether you’re a steak, kebab, halloumi, or corn-on-the-cob kind of person, we can all agree that coming together around the BBQ with an ice-cold drink in hand is a moment to be treasured.
“Nothing quite beats that BBQ feeling”
Something comes over us when the weather is nice; shops are stripped bare within a couple of hours of sun, the barbecues are unveiled, and preparations are underway. But what makes BBQ season such a big deal in the first place? Why do we jump at every chance we can get to use them and where did this revolutionary cooking method come from? Let’s look shall we…
Where it all started
Barbecuing is rooted deep into human behaviour ever since our early ancestors, Homo erectus, first began to cook meals over open flames. Barbecues have changed in many ways over time, from fire pits to the robust structures that we see today.
At the end of the 1950s, suburb houses with small gardens became very popular, a “must have” for new home buyers in America. In the summer, free-standing metal braziers slowly replaced the classic barbecue pits; a statement piece for a new homeowner we’re sure but not short of design flaws. The open nature of these structures meant they were at the mercy of the weather. With rain, barbecues would quickly turn into a wet mess. The lightest wind would lift the ashes, scattering them all over the cooking meat. This impracticality, and lack of perfectly cooked ash-free steak, ignited an idea in one determined American.
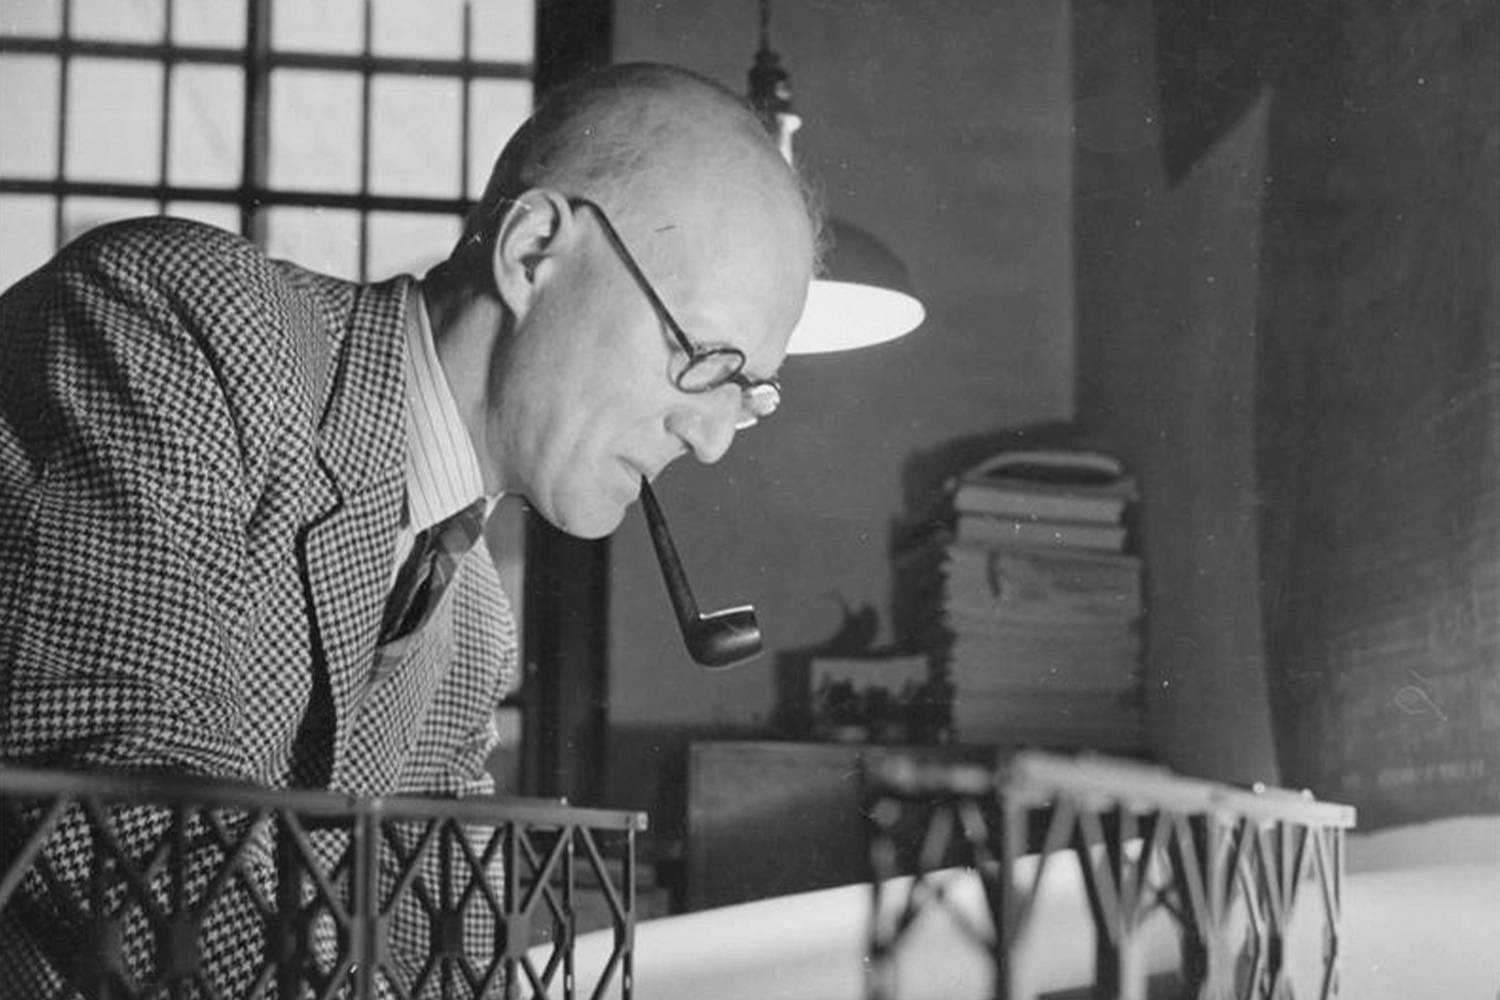
Metal welder, George Stephen Snr. came up with his ingenious solution. He chopped a metal buoy in half, added legs and air vents, and the first Weber kettle BBQ was born!
“A revolution in visual identity and time-tested practicality"

Photo from Weber.com
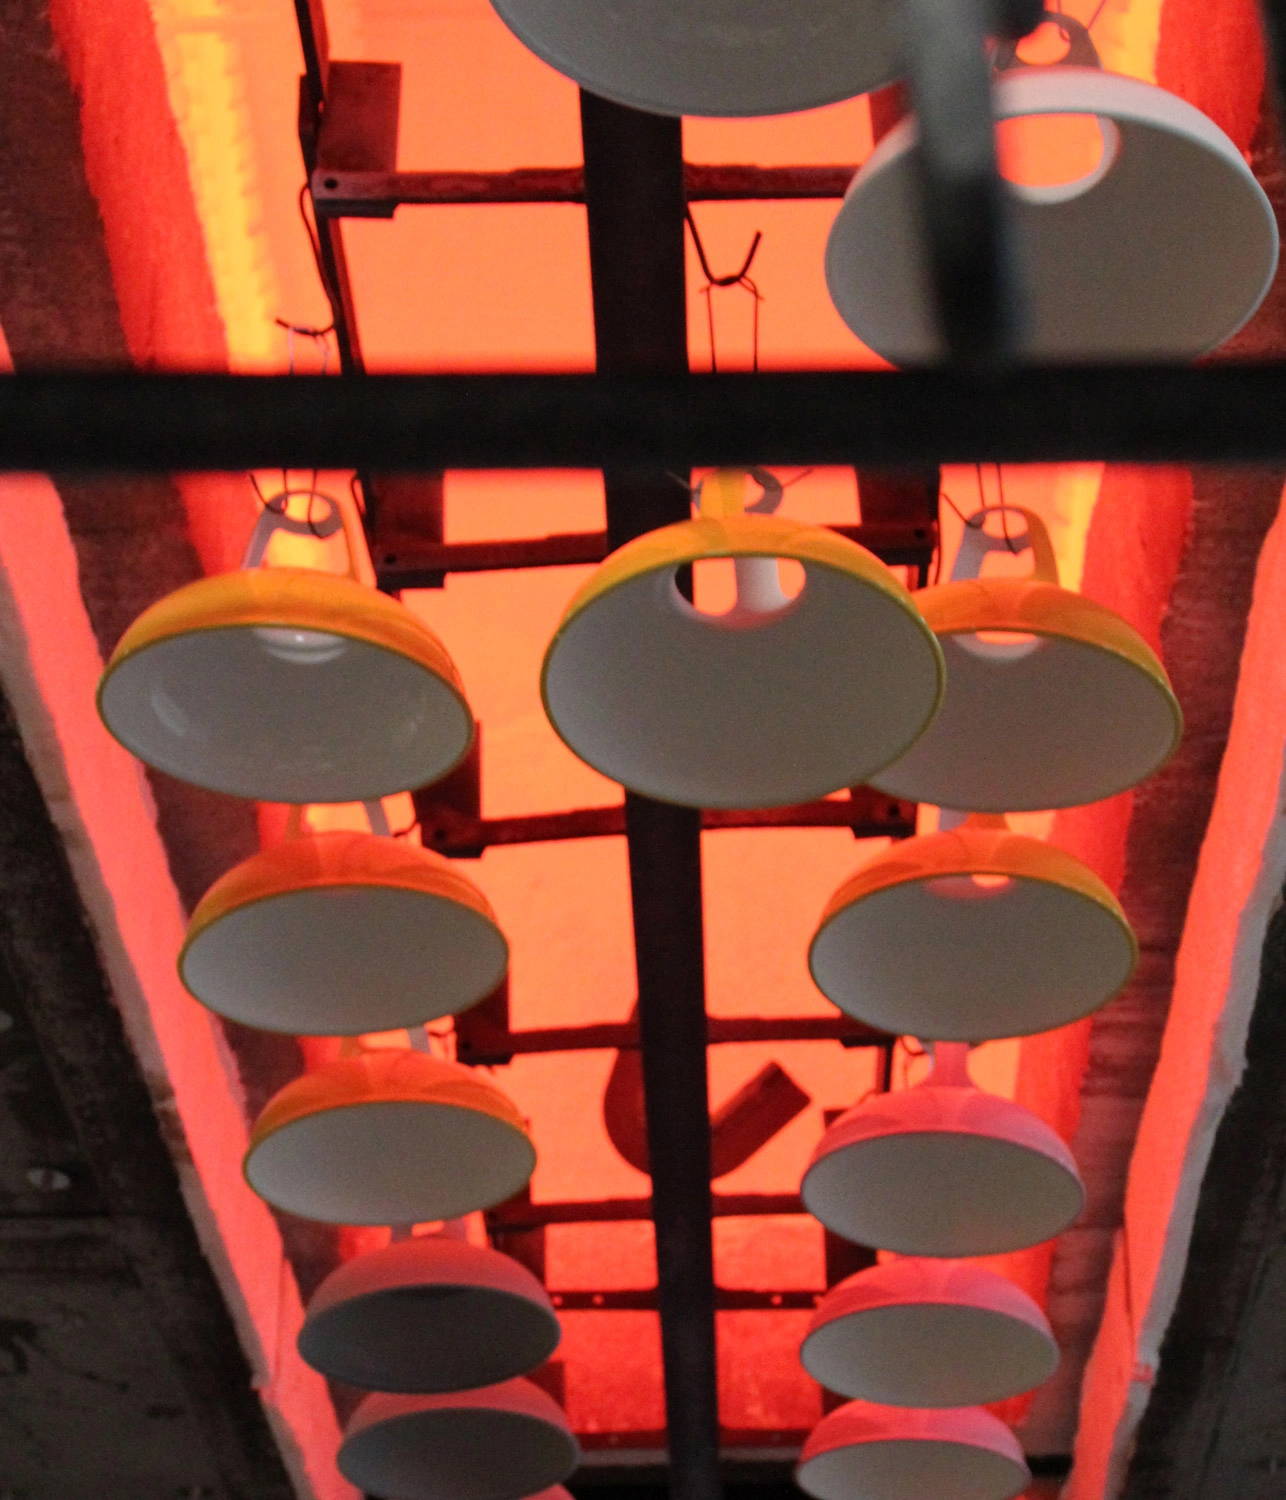
Photo by Coolicon Lighting
Can you take the heat?
With a direct approach to cooking, George revolutionised the barbecue world, and his design is still used by millions of people around the world today.
At Coolicon®, we believe that making by doing is at the heart of innovation. Like the Weber BBQ, Coolicon® lampshades were created from that lightbulb moment. A problem was noticed, some tinkering and tweaking followed, and a solution was born. Oftentimes the obvious solution creates the most success, will a lot of iteration, trial, and error of course.
“Often times the obvious solution creates the most success”
Just as Weber BBQs changed the way we barbecue to this day, Coolicon® lampshades changed the industry of factory lighting through its innovative vented design. Reducing the temperature of the 150W bulbs, a Coolicon® lampshade became a trusted partner for factory workers, providing safer working conditions while decreasing accidents at work.
Many barbecues, such as Weber, are finished with the same high-quality material as Coolicon® lampshades. Vitreous Enamel, also called porcelain enamel, is a material born out of extreme temperatures making it extremely robust and durable. Rest assured, your BBQ won’t be melting away anytime soon with Vitreous Enamel on its side, and your Coolicon® shade will indeed take the heat of the kitchen with ease.
Cooking by doing
From the factories of the past to the kitchens of today, Coolicon® shades have cast light onto many innovative moments. For help finding that sweet food-prep lighting spot, our Lighting Your Interior page outlines the best ways to style your Coolicon® lampshades so you can get those meats glazed to perfection.
Today we challenge you to get creative in the kitchen; what new BBQ recipes can you come up to make the taste buds come alive? Pop on your best Heston Blumenthal thinking cap and start cooking by doing!

Photo by Hulki Okan

Photo by Evan Wise
We’re looking for the BEST BBQ RECIPE to try out for ourselves this BBQ Week 2022. Got something up your sleeve you think is a winner? Share it with us in the comments below, and we’ll spread the word on our Instagram stories, @cooliconlights, throughout the week!
Check out some of our favourites below for inspiration, not forgetting dessert!
Classic Baby Back Ribs
(Original recipe: Weber.com)
Prep time: 30 min
Cooking time: 3-4 h
Serves: depending on ribs size
Seasoning:
- 2 tbsp salt
- 2 tbsp paprika
- 4 tsp granulated garlic
- 4 tsp pure ground ancho chilli
- 2 tsp freshly ground black pepper
- 1 tsp ground cumin
Barbecue Sauce:
- 180ml unsweetened apple juice
- 120ml ketchup
- 3 tbsp cider vinegar
- 2 tsp soy sauce
- 1 tsp Worcestershire sauce
- 1 tsp molasses (not blackstrap molasses)
- 1⁄2 tsp granulated garlic
- 1⁄2 tsp pure ground ancho chilli
- 1⁄4 tsp freshly ground black pepper
Mop:
- 240ml unsweetened apple juice
- 3 tbsp cider vinegar
- 2 tbsp unsalted butter
- 2 tbsp barbecue sauce (from above)
Extra equipment:
- Silicone basting brush
- In a small bowl mix the rub ingredients together. Set aside when finished.
- Using a dull knife, slide the tip under the membrane covering the back of each rack of ribs. Lift and loosen the membrane until it breaks, then grab a corner of it with a paper towel and pull it off. Cut each rack crosswise in the middle to create two smaller racks. Sea- son the racks all over, putting more of the rub on the meaty sides than the bone sides. Leave the racks to stand at room temperature for about 30 minutes.
- Set your barbecue up for cooking over low heat (120°C).
- Place the ribs, bone-side down, on the cooking grate, close the lid and cook for 1 hour. Meanwhile, make the sauce and the mop.
- In a small saucepan mix the barbecue sauce ingredients. Bring to the boil over medium heat on the stove, stirring often. Reduce the heat to medium-low and simmer for around 3 minutes to blend the flavours. Remove from the heat.
- In another small saucepan mix the mop ingredients. Bring to the boil over medium heat on the stove, stirring often. Reduce the heat to medium-low and simmer for about 3 minutes to blend the flavours. Remove from the heat.
- After the first hour, lightly baste the ribs with some of the mop. Close the lid and cook for another hour.
- After the second hour, generously baste the ribs with some of the mop. Close the lid and cook for another hour.
- After 3 hours of cooking, check if any of the racks are ready to come off the barbecue. They are done when the meat has shrunk back from most of the bones by about 1⁄2 an inch. When you lift a rack by picking up one end with tongs, bone side up, the rack should bend in the middle and the meat should tear easily. If the meat does not tear easily, continue to cook the racks. The total cooking time could be anywhere between 3 to 4 hours.
- Lightly brush the cooked racks with some sauce. Transfer to a tray and tightly cover with aluminium foil.
- Let the ribs rest for 10 to 15 minutes before serving.
- Cut the racks between the bones into individual ribs and serve warm with the remaining sauce on the side.

Photo by Jon Tyson
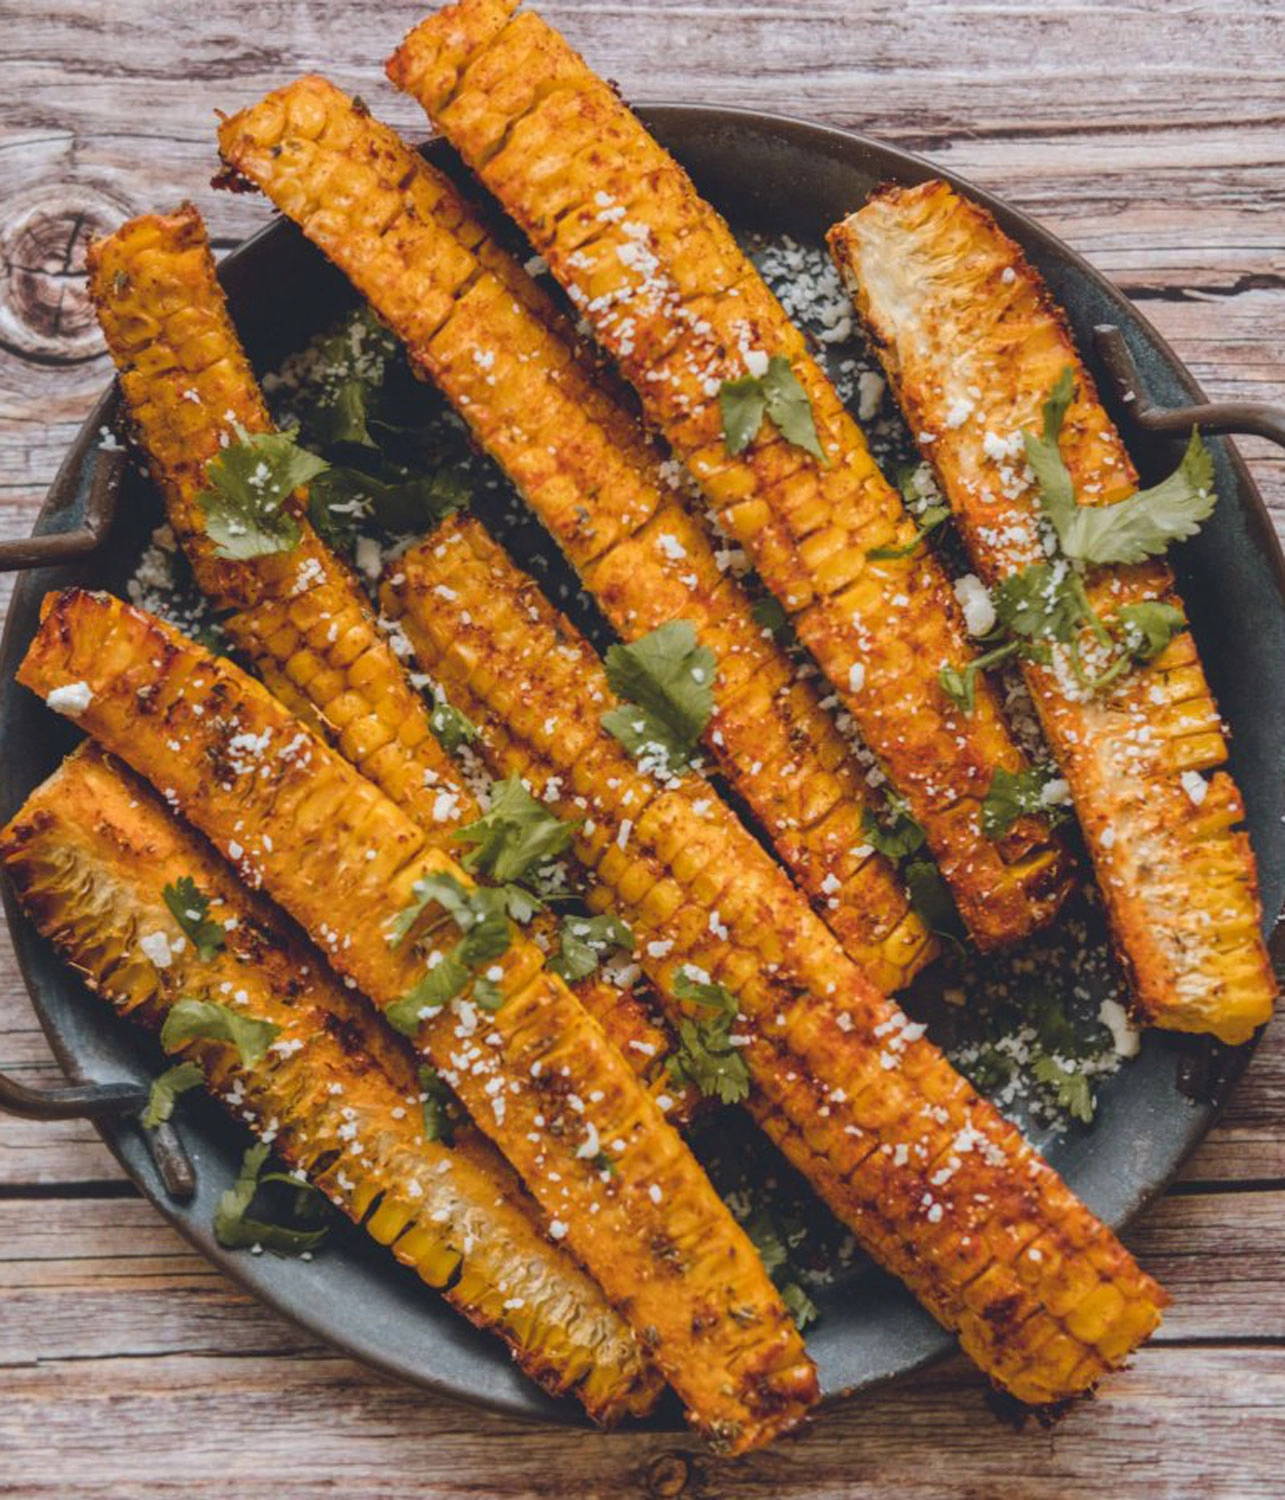
Photo from Yuzubakes.com
Vegetarian Corn Ribs
(Adapted from: Yuzubakes.com)
Prep time: 5 min
Cooking time: 30 min
Serves: 2
Seasoning:
- 2 corns on the cob
- 1 tbsp olive oil
- 1 tsp ground coriander
- 1 tsp paprika
- 1/2 tsp garlic powder
- 1 tsp oregano
- Vegetarian Parmesan
- salt and peppercorn to taste
- Set your barbecue up for cooking over medium heat (180°C).
- Clean the corn and cut it into strips. Use a sharp knife and a stable surface.
- Place the corn strips on a sheet of aluminium foil.
- Drizzle the olive oil, add the coriander, paprika, garlic, oregano, salt and pepper and using your hands massage it into the corn.
- Bake in the barbecue for around 25-30 minutes or until the corn strips are fully cooked.
- Enjoy the corn ribs with vegetarian Parmesan and some fresh coriander.
Zesty Halloumi, Mango & Avocado Salad
The perfect pairing for those BBQ kebabs
Prep time: 15 min
This salad can be as large or small as you want, a great addition to those summer gatherings
Ingredients:
- Mango
- Avocado
- Sweet peppers
- Carrot
- Red onion
- Cucumber
- Apple
- Cherry tomatoes
- Your favourite crunchy salad leaves (lettuce, spinach, kale, etc)
- Halloumi
- Lime, salt and pepper, olive oil (for dressing)
- Wash and prep fruit and veggies; Chop, cube, grate or slice everything just how you like it.
- Grill the Halloumi on the BBQ (tip: add butter to get that golden crust).
- Mix fruit and veg in a large bowl, chop the halloumi once gold from the grill and add to the mix.
- Dress with juice of half a Lime (save the other half for gin slices), salt and pepper to taste and a drizzle of olive oil.
- Mix well, serve alongside your BBQ goodies or on its own and enjoy!
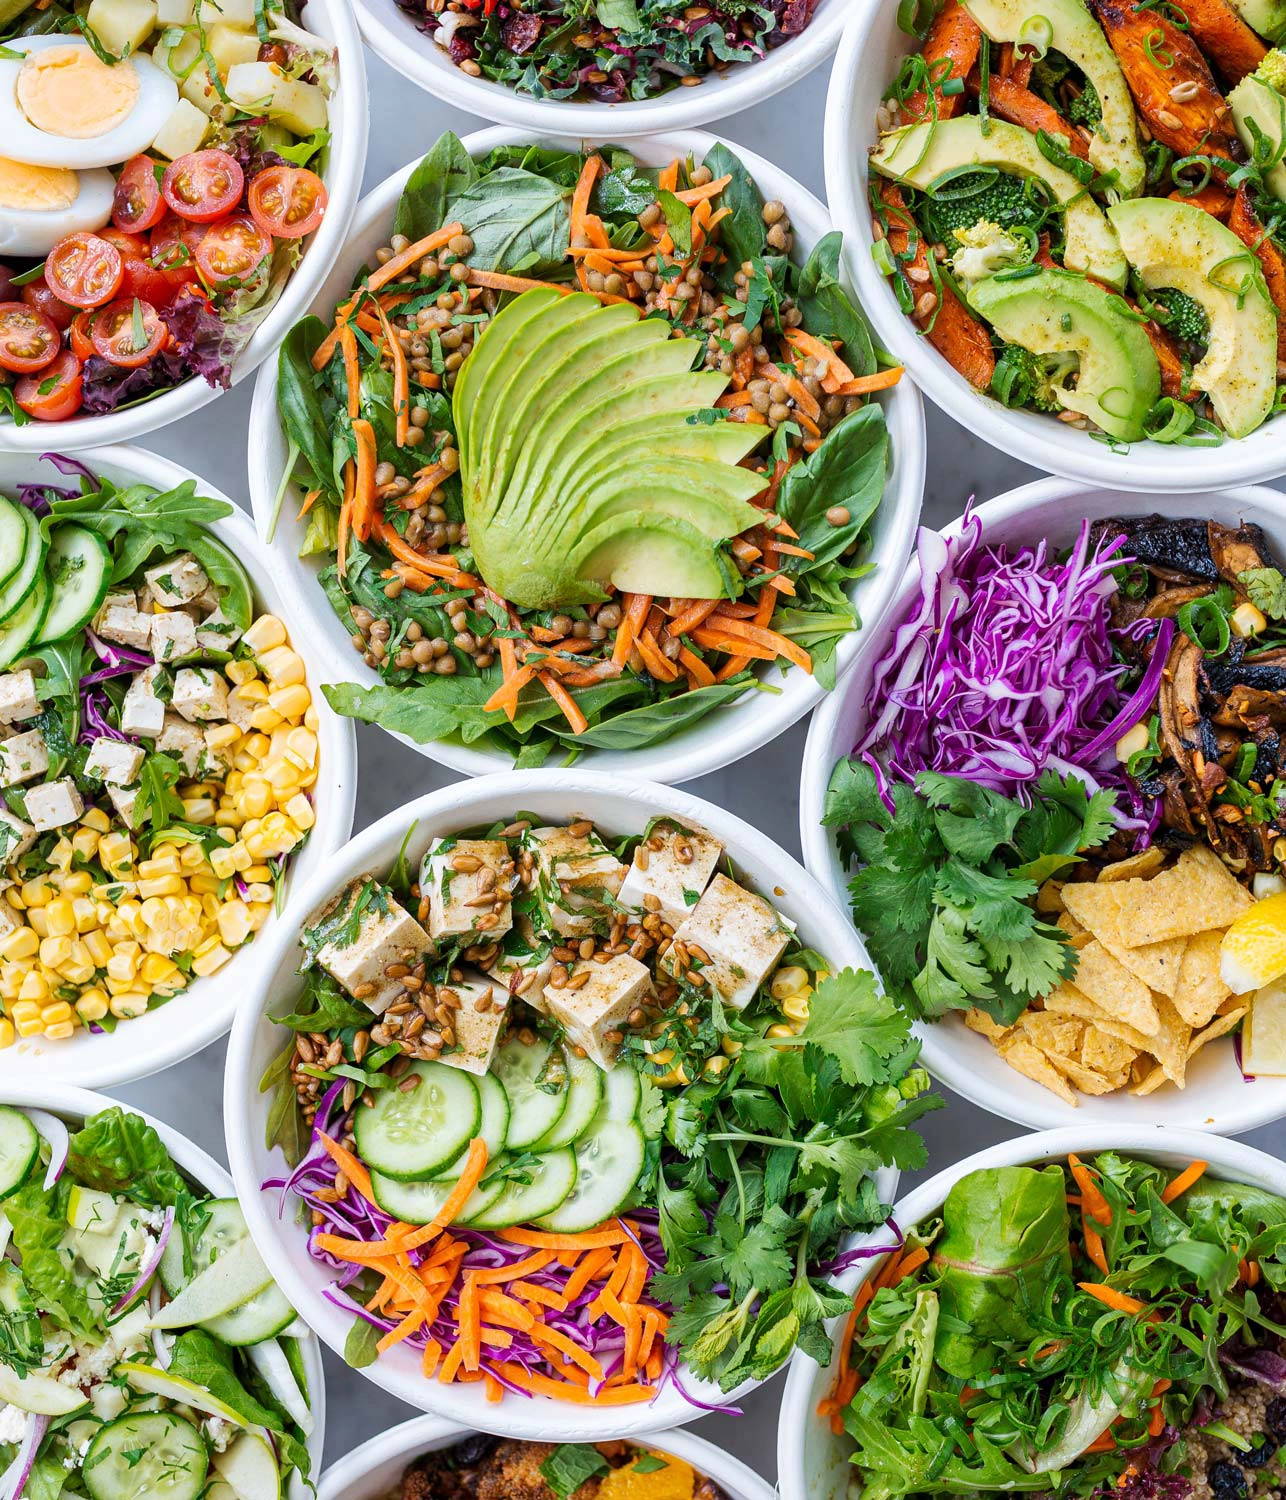
Photo by Luisa Brimble

Photo from BBC Good Food
Rum & Caramel Bananas
(Original recipe: BBC Good Food)
Prep time: 10 min
Cooking time: 15 min
Serves: 6
Ingredients:
- 50g butter, softened
- 40g light brown muscovado sugar
- 1-2 tsp treacle
- 1-2 tbsp spiced rum
- 6 unpeeled bananas
- ice cream , to serve (we like coconut)
- Mix the butter with the sugar and treacle, then add the rum. Make a split through the inside curve of each banana skin – be careful not to cut all the way through. Spread a spoonful of the spiced butter inside each skin.
- Place the bananas, curved-side up – so the butter doesn’t leak when it melts – onto individual sheets of foil large enough to wrap them completely. Crimp up the foil to make a parcel, then put onto the embers for 15 mins, turning once. The bananas should be sticky and caramelised, but check one and cook for longer if necessary. Serve with a scoop of ice cream.
Chocolate baked bananas
(Adapted from: BBC Good Food)
Prep time: 10 min
Cooking time: 15 min
Serves: 4
Ingredients:
- 4 ripe bananas
- 2 x 32g bag chocolate buttons
- vanilla ice cream , to serve
- Make a slit through the skin of the bananas along one side – making sure you don’t cut all the way through to the other side. Poke in the chocolate buttons along the cut. Put each banana onto a sheet of foil and crimp the edges together to seal into a parcel. Transfer to a baking sheet and pop straight into the BBQ embers for 15 mins.
- Serve with a scoop of ice cream and any melted chocolate that has escaped!
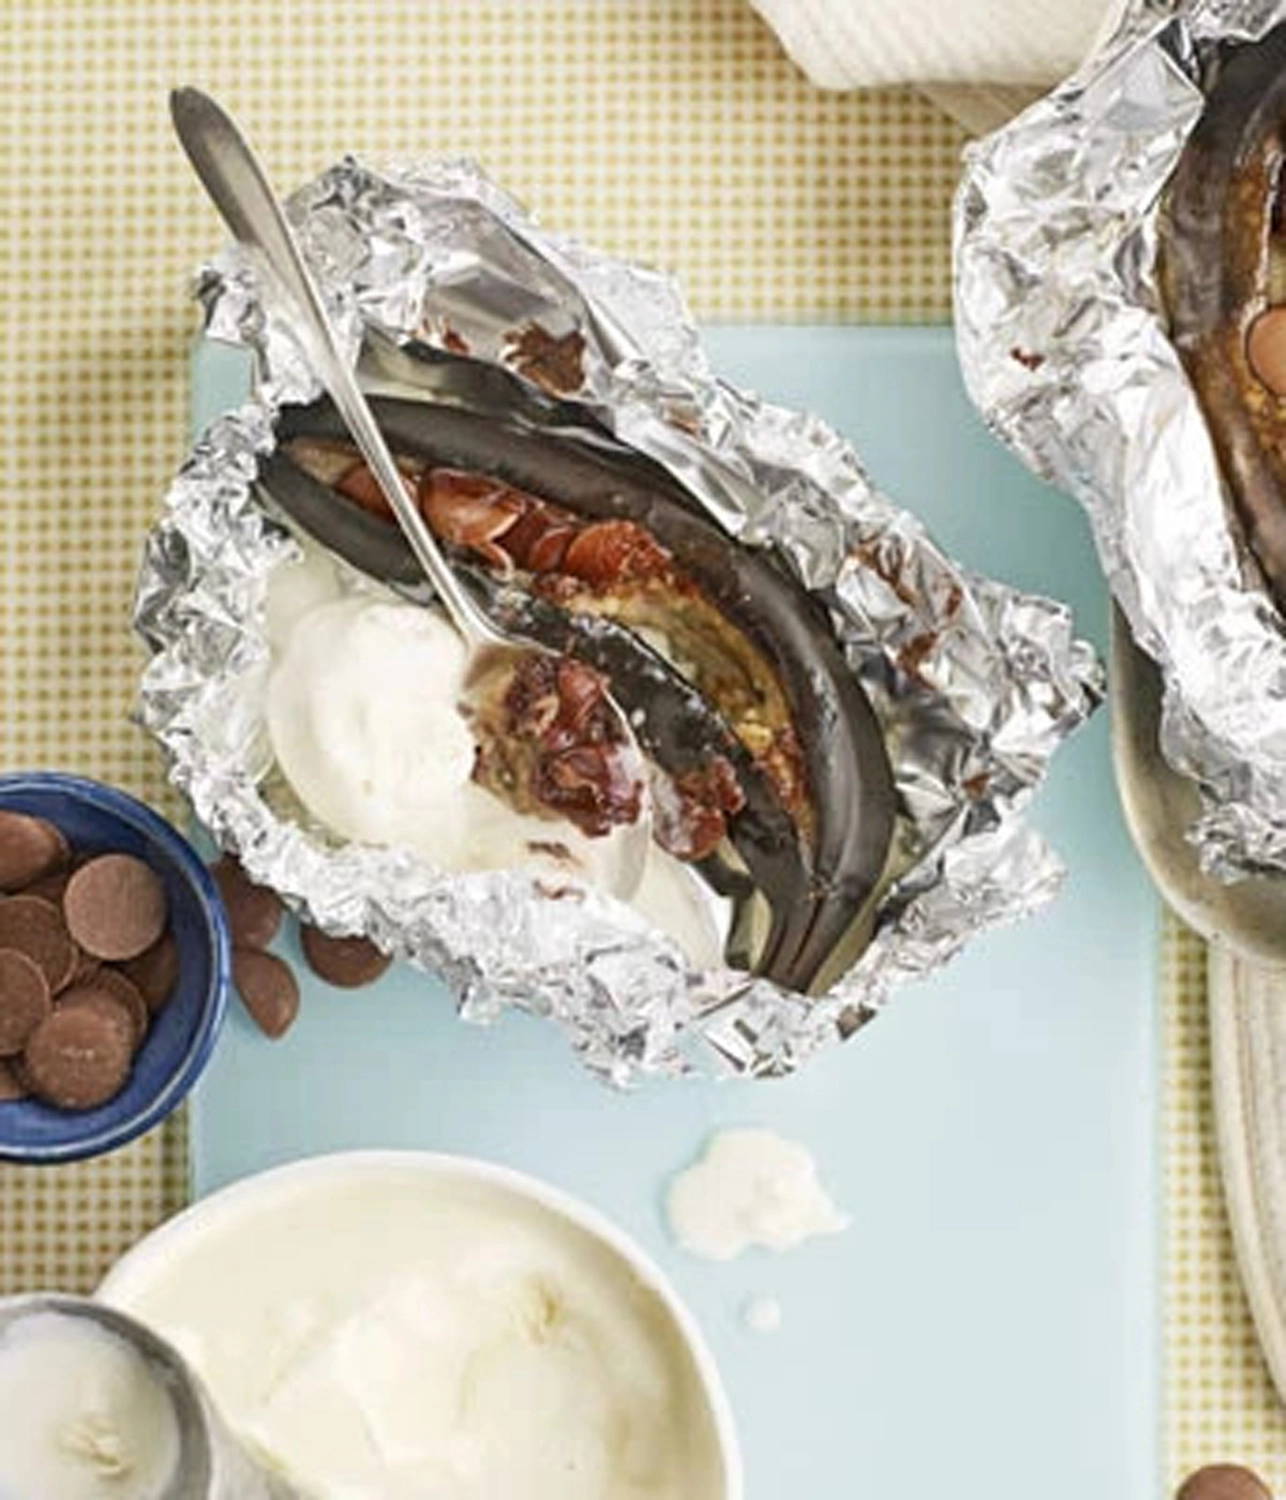
Photo from BBC Good Food